Will a Fender neck fit on a Squier body?
Will the Neck Fit?
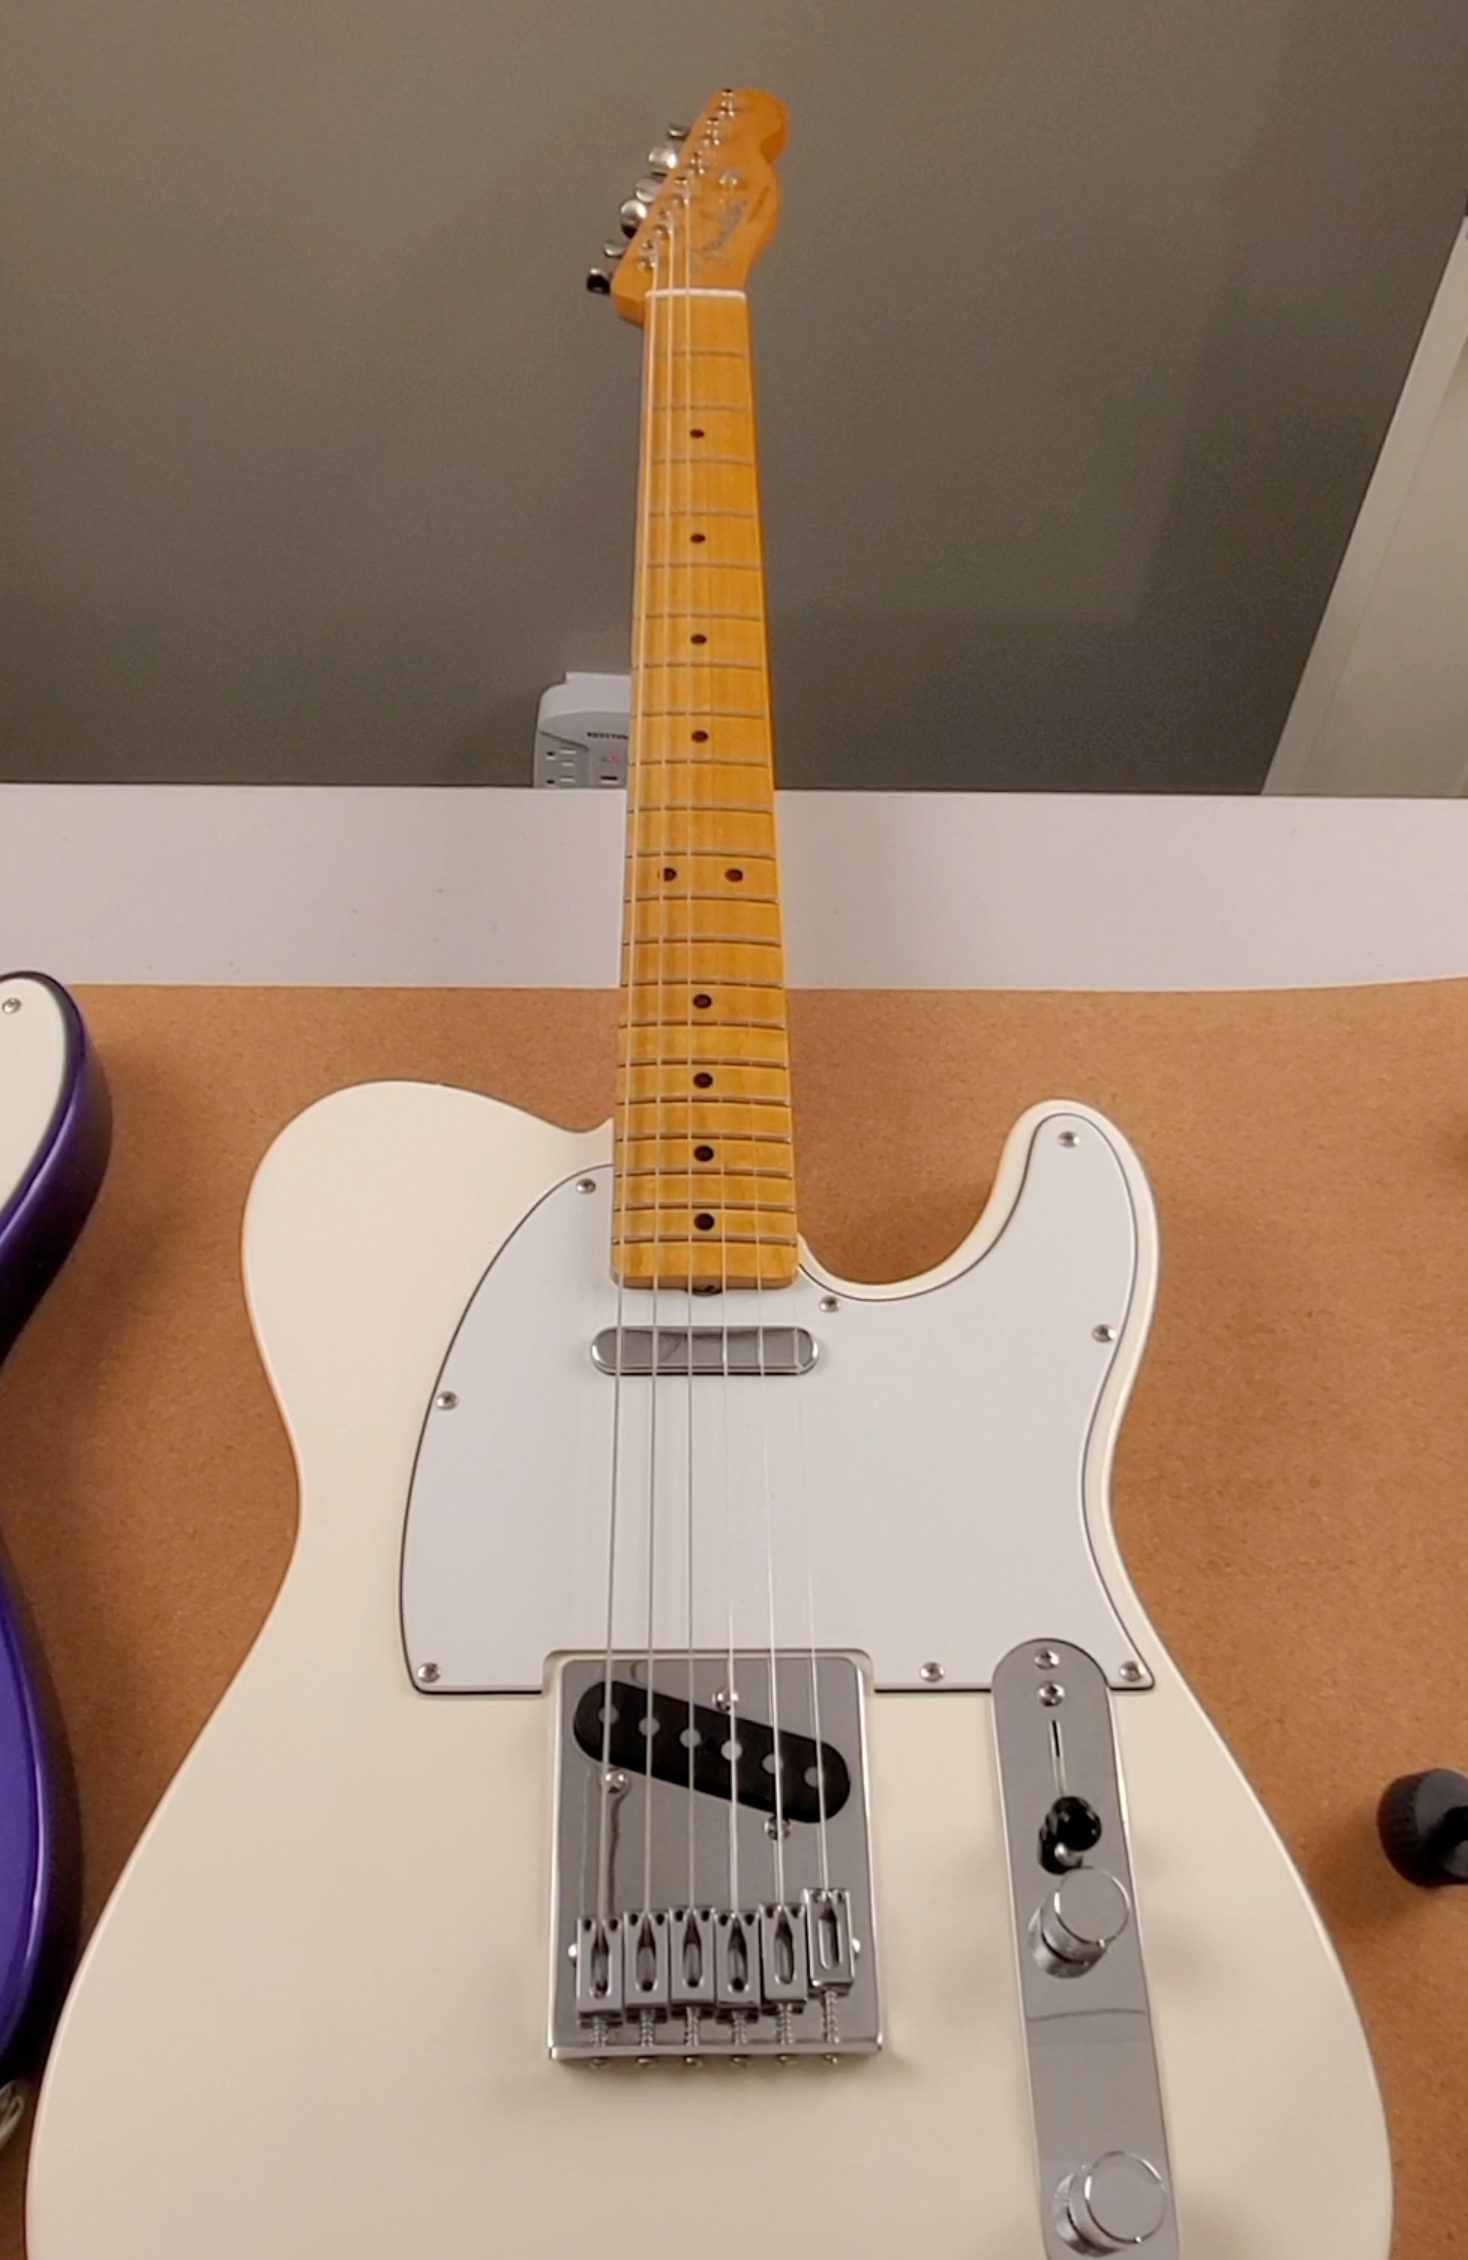
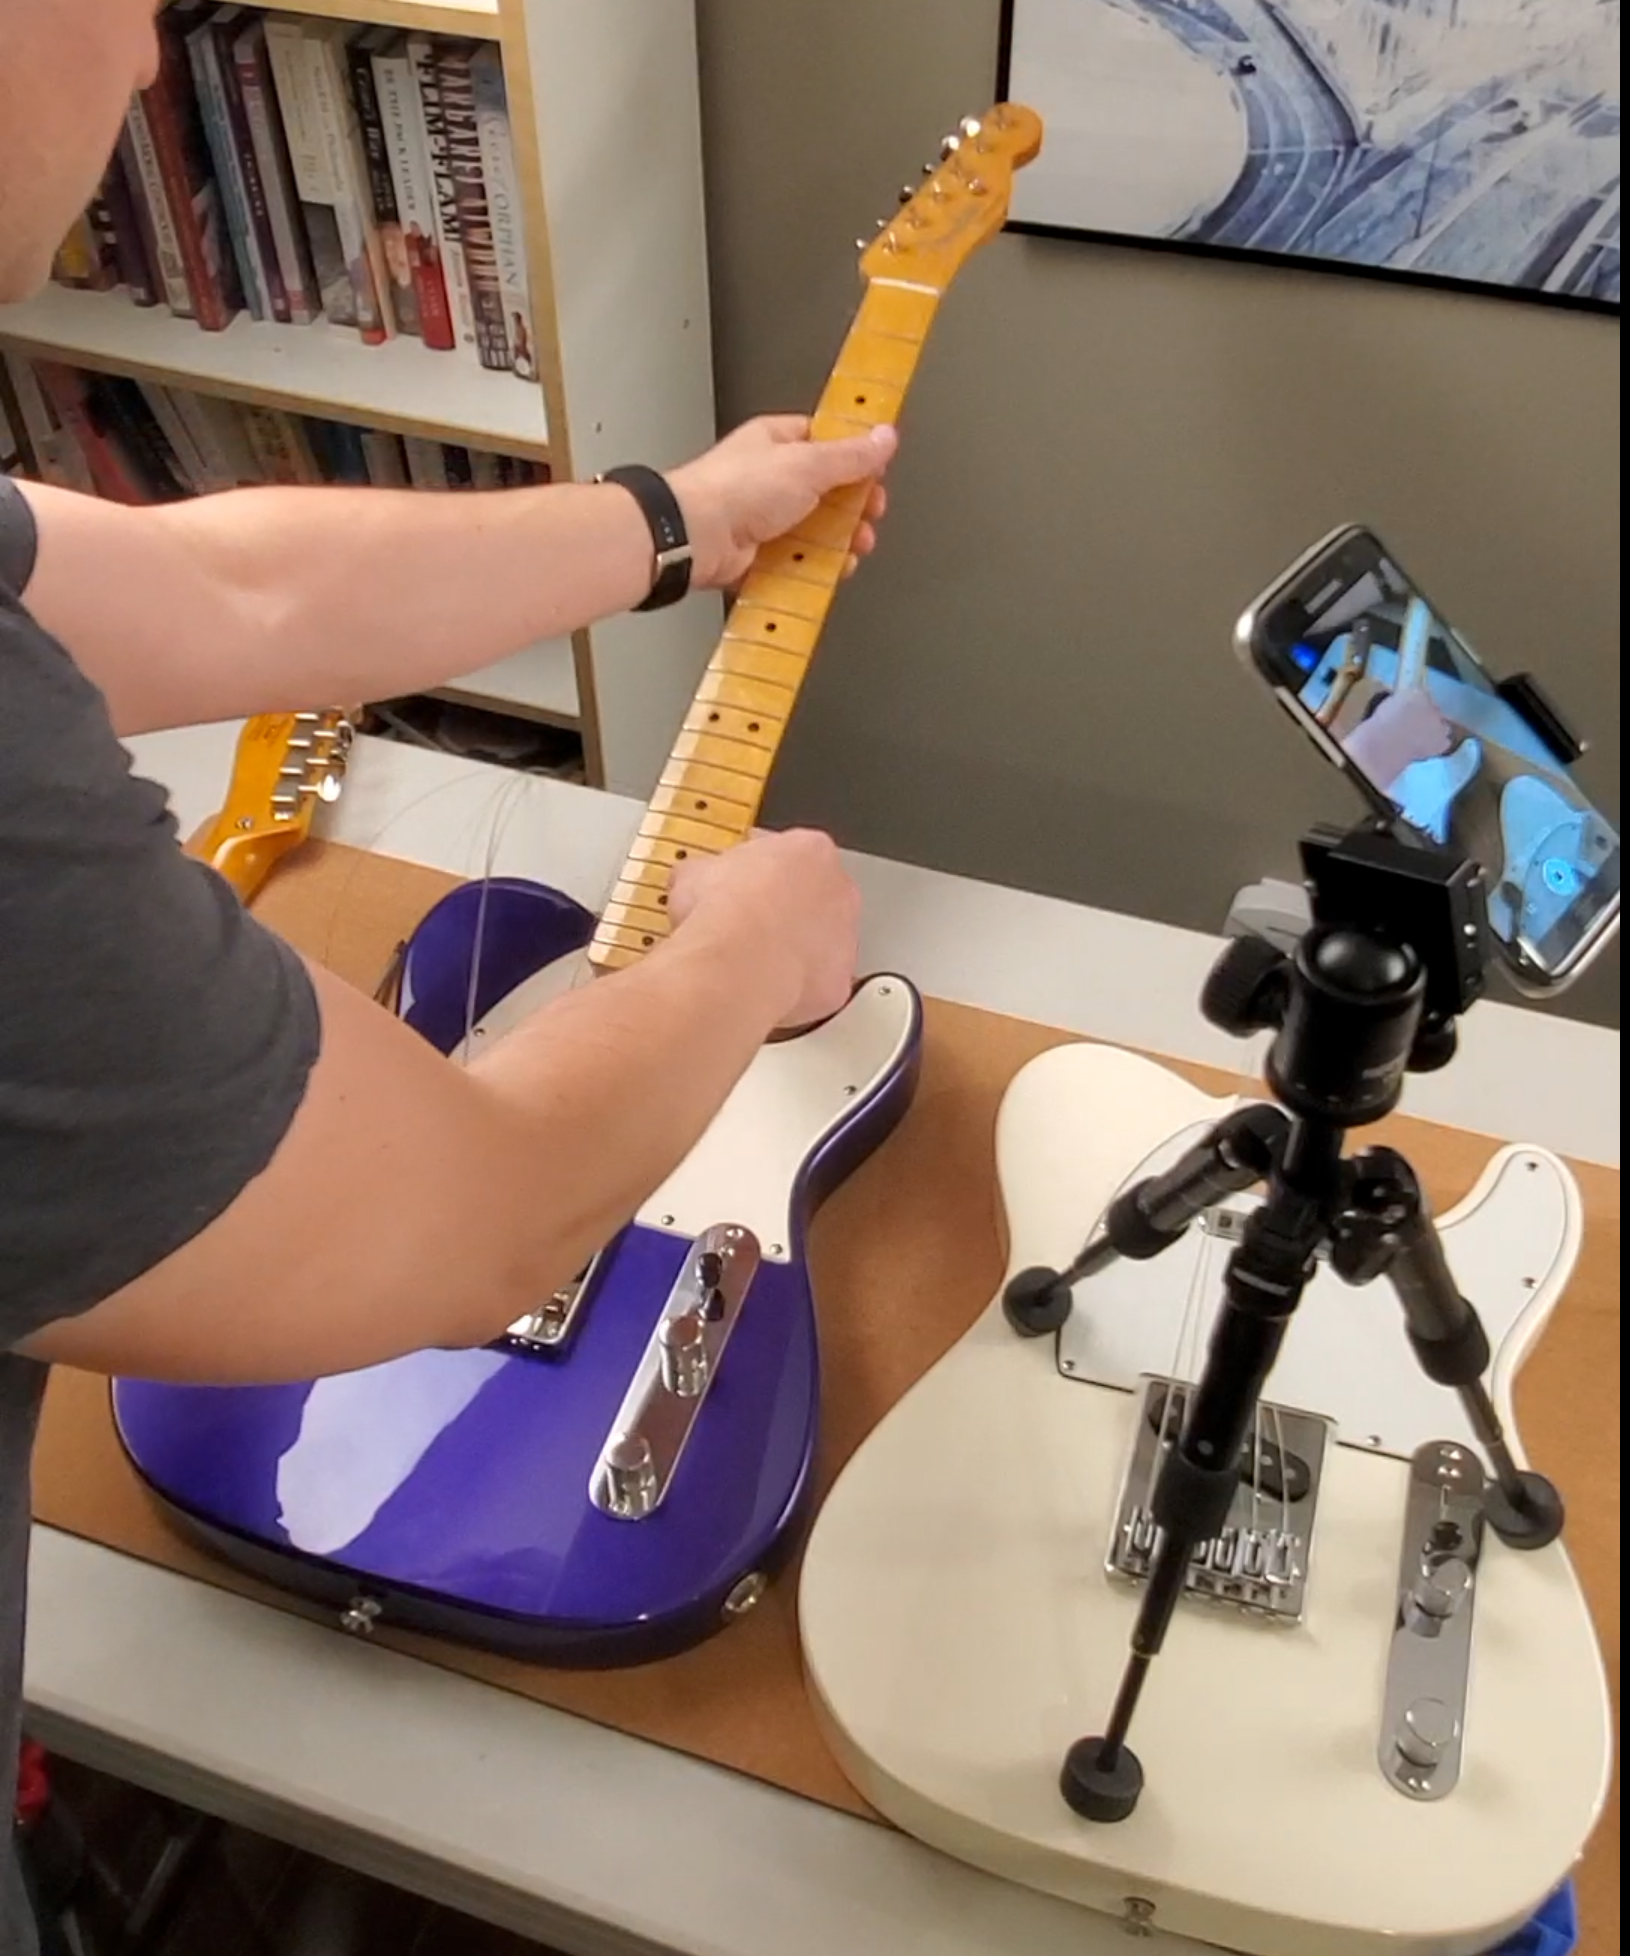
This is a question I have wondered many times, but never tried for myself. Will an official Fender electric guitar neck fit on a Squier body? So today I’m going to see if a ‘50s style Made in Mexico Fender Telecaster neck will fit on the body of a Squier Classic Vibe ‘50s Telecaster. Fender says that most Fender and Squier necks are interchangeable, but I’ve never actually gone through the whole process until now. In my example we’re assuming that you have two guitars, one Fender, and one Squier and you will be removing both necks and swapping them between each other.
Fender Telecaster Neck and Body
So why would I even want to do this? The Squier Classic Vibe Telecaster is a great electric guitar and has a really nice neck! Over the years I’ve grown a preference for thicker necks, and my Mexican Telecaster is a ‘50s style neck. When a neck is described as a ‘50s style, that generally means it will be thicker than most modern day guitar necks. Even though the Classic Vibe takes most of it’s styling from a ‘50s guitar, the neck is a thinner C shape.
Fender claims that most official Fender necks should fit into a Squier body. Here are the official specifications when it comes to the neck pocket on a Fender guitar:
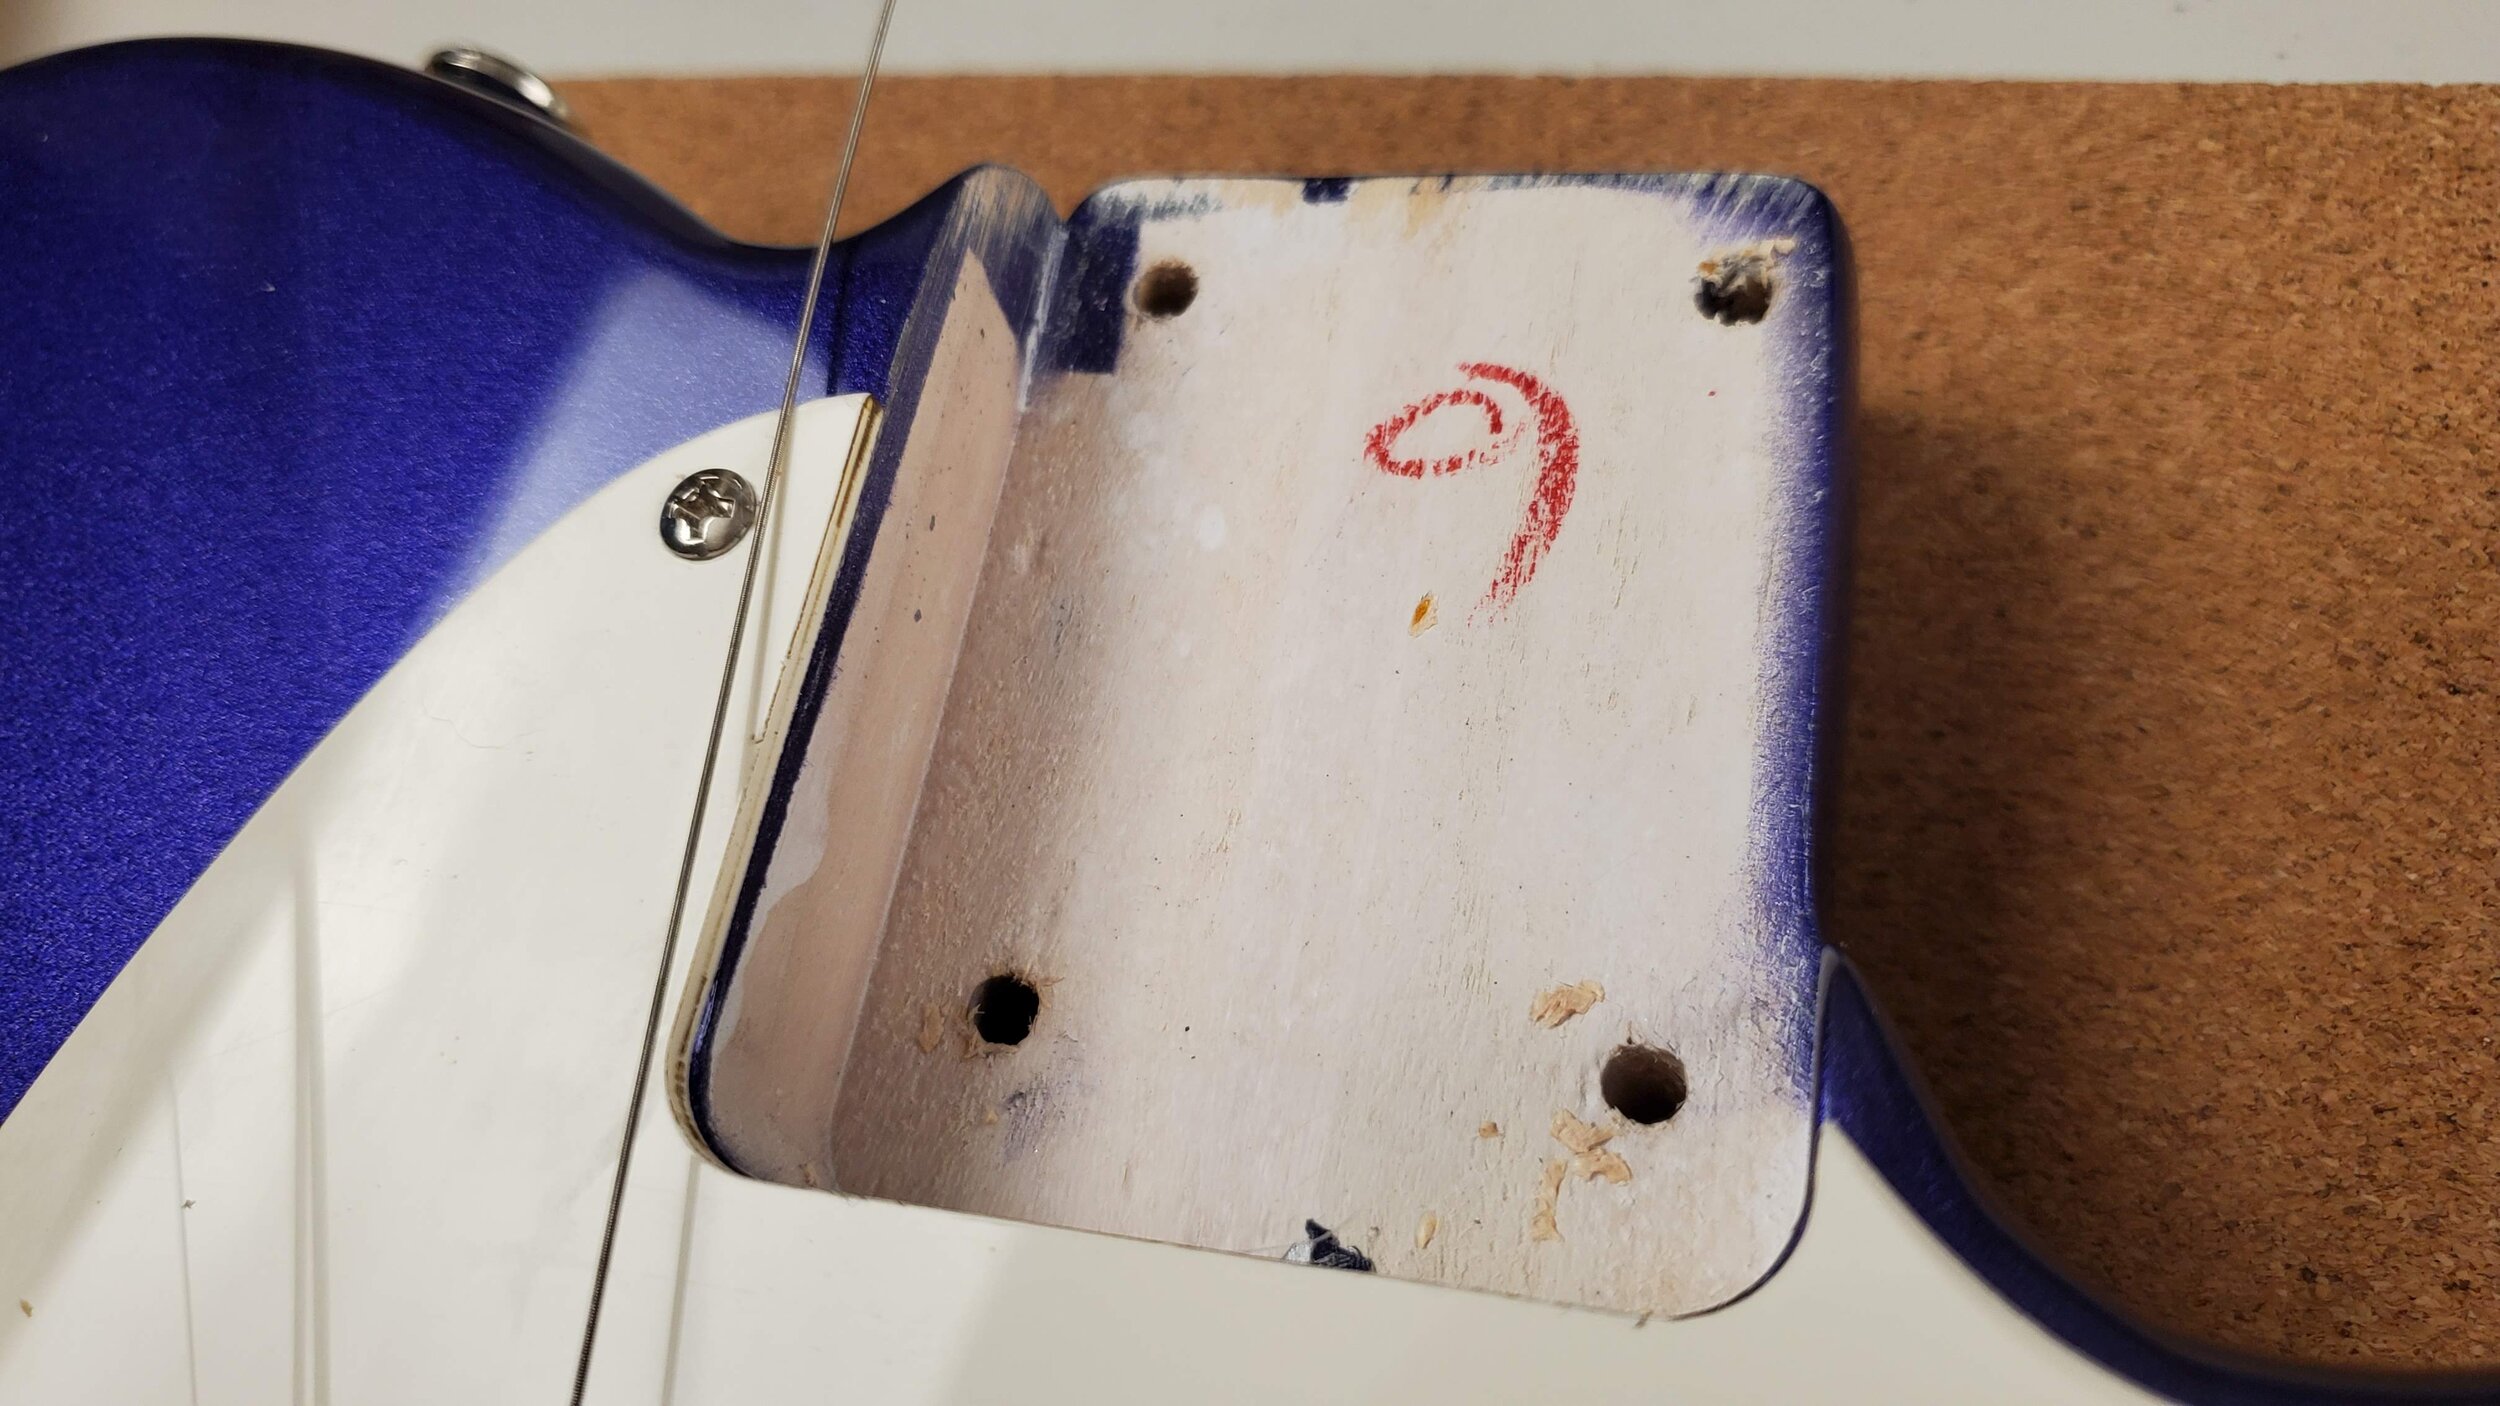
Squier Classic Vibe Neck Pocket
Fender's® neck heel and neck pocket dimensions:
56 mm (2-3/16") - Width. 76 mm (3") - Length. 16 mm (5/8") - Pocket Depth.
Remember to keep in mind that there are a lot of unofficial replacement neck manufacturers. If you are attempting to replace the neck with an unofficial neck, make sure the specification match the official Fender specs that I listed. There are also officially licensed Fender necks, which you assume should have the same specs, but always make sure to check first. Also be sure to check if you have a 3 bolt or 4 bolt neck. They have different screw patterns and are not compatible with other.
What you need to do
There are going to be a few steps involved with attempting this neck replacement. Everything is very straight forward and should be simple enough even if you don’t have experience working on guitars. Let’s get started with removing the neck.
Removing a Fender Bolt On Neck
Removing a bolt-on neck is fairly easy process. I recommend working on a soft work mat surface. I use a Mr. Power Guitar Work Mat that I found on Amazon:
Loosen the strings on the neck.
The first step is to loosen the guitar strings, or completely remove them. For this example I’m completely removing the strings because my tuners happen to be the vintage style. These tuners allow you to loosen the string and then pop them off while retaining the wound up shape. This allows you to easily re-string the guitar when you are finished.
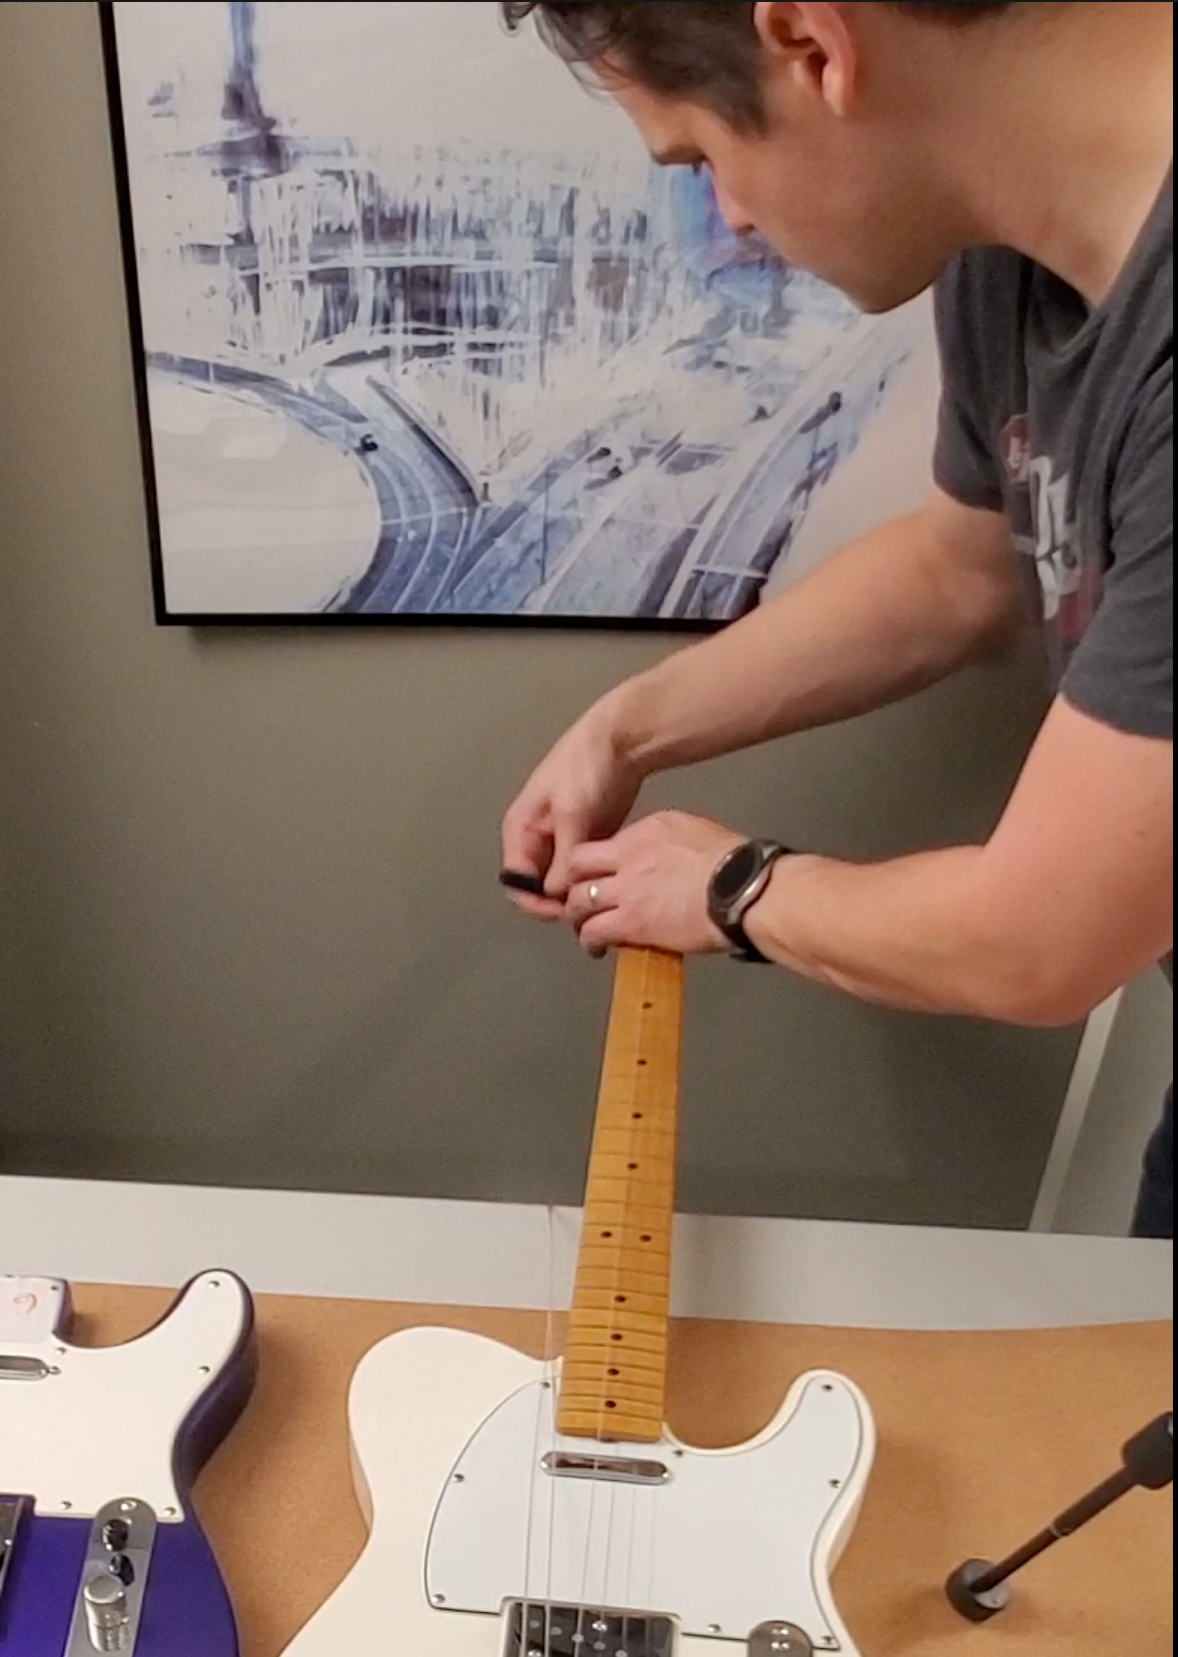
The next step is to flip over your guitar and place it face down on the soft mat surface. Take one hand and hold the neck plate and neck in place while you begin to loosen each screw attached to the neck. You want to keep the neck and body flush with your hand. The neck will pop away from the body while you start loosening the strings, so you want to avoid damaging the neck and body. Some necks will be snuggly fit into the neck pocket, while others may be slightly loose. So you never know if the neck will simply fall out or if the neck will take a little bit of pressure to remove. Take your time and be careful while removing the neck to avoid damaging the body finish. You also don’ want the partially removed screws to pull on the body wood and rip out of their drilled slots.
If you haven’t already removed the neck from the Squier body, repeat the same process for this guitar and neck, and again use caution while working with the parts to avoid any damage. When you have the neck removed from the Squier body then you are ready to move on to the next step.
Does the neck fit?
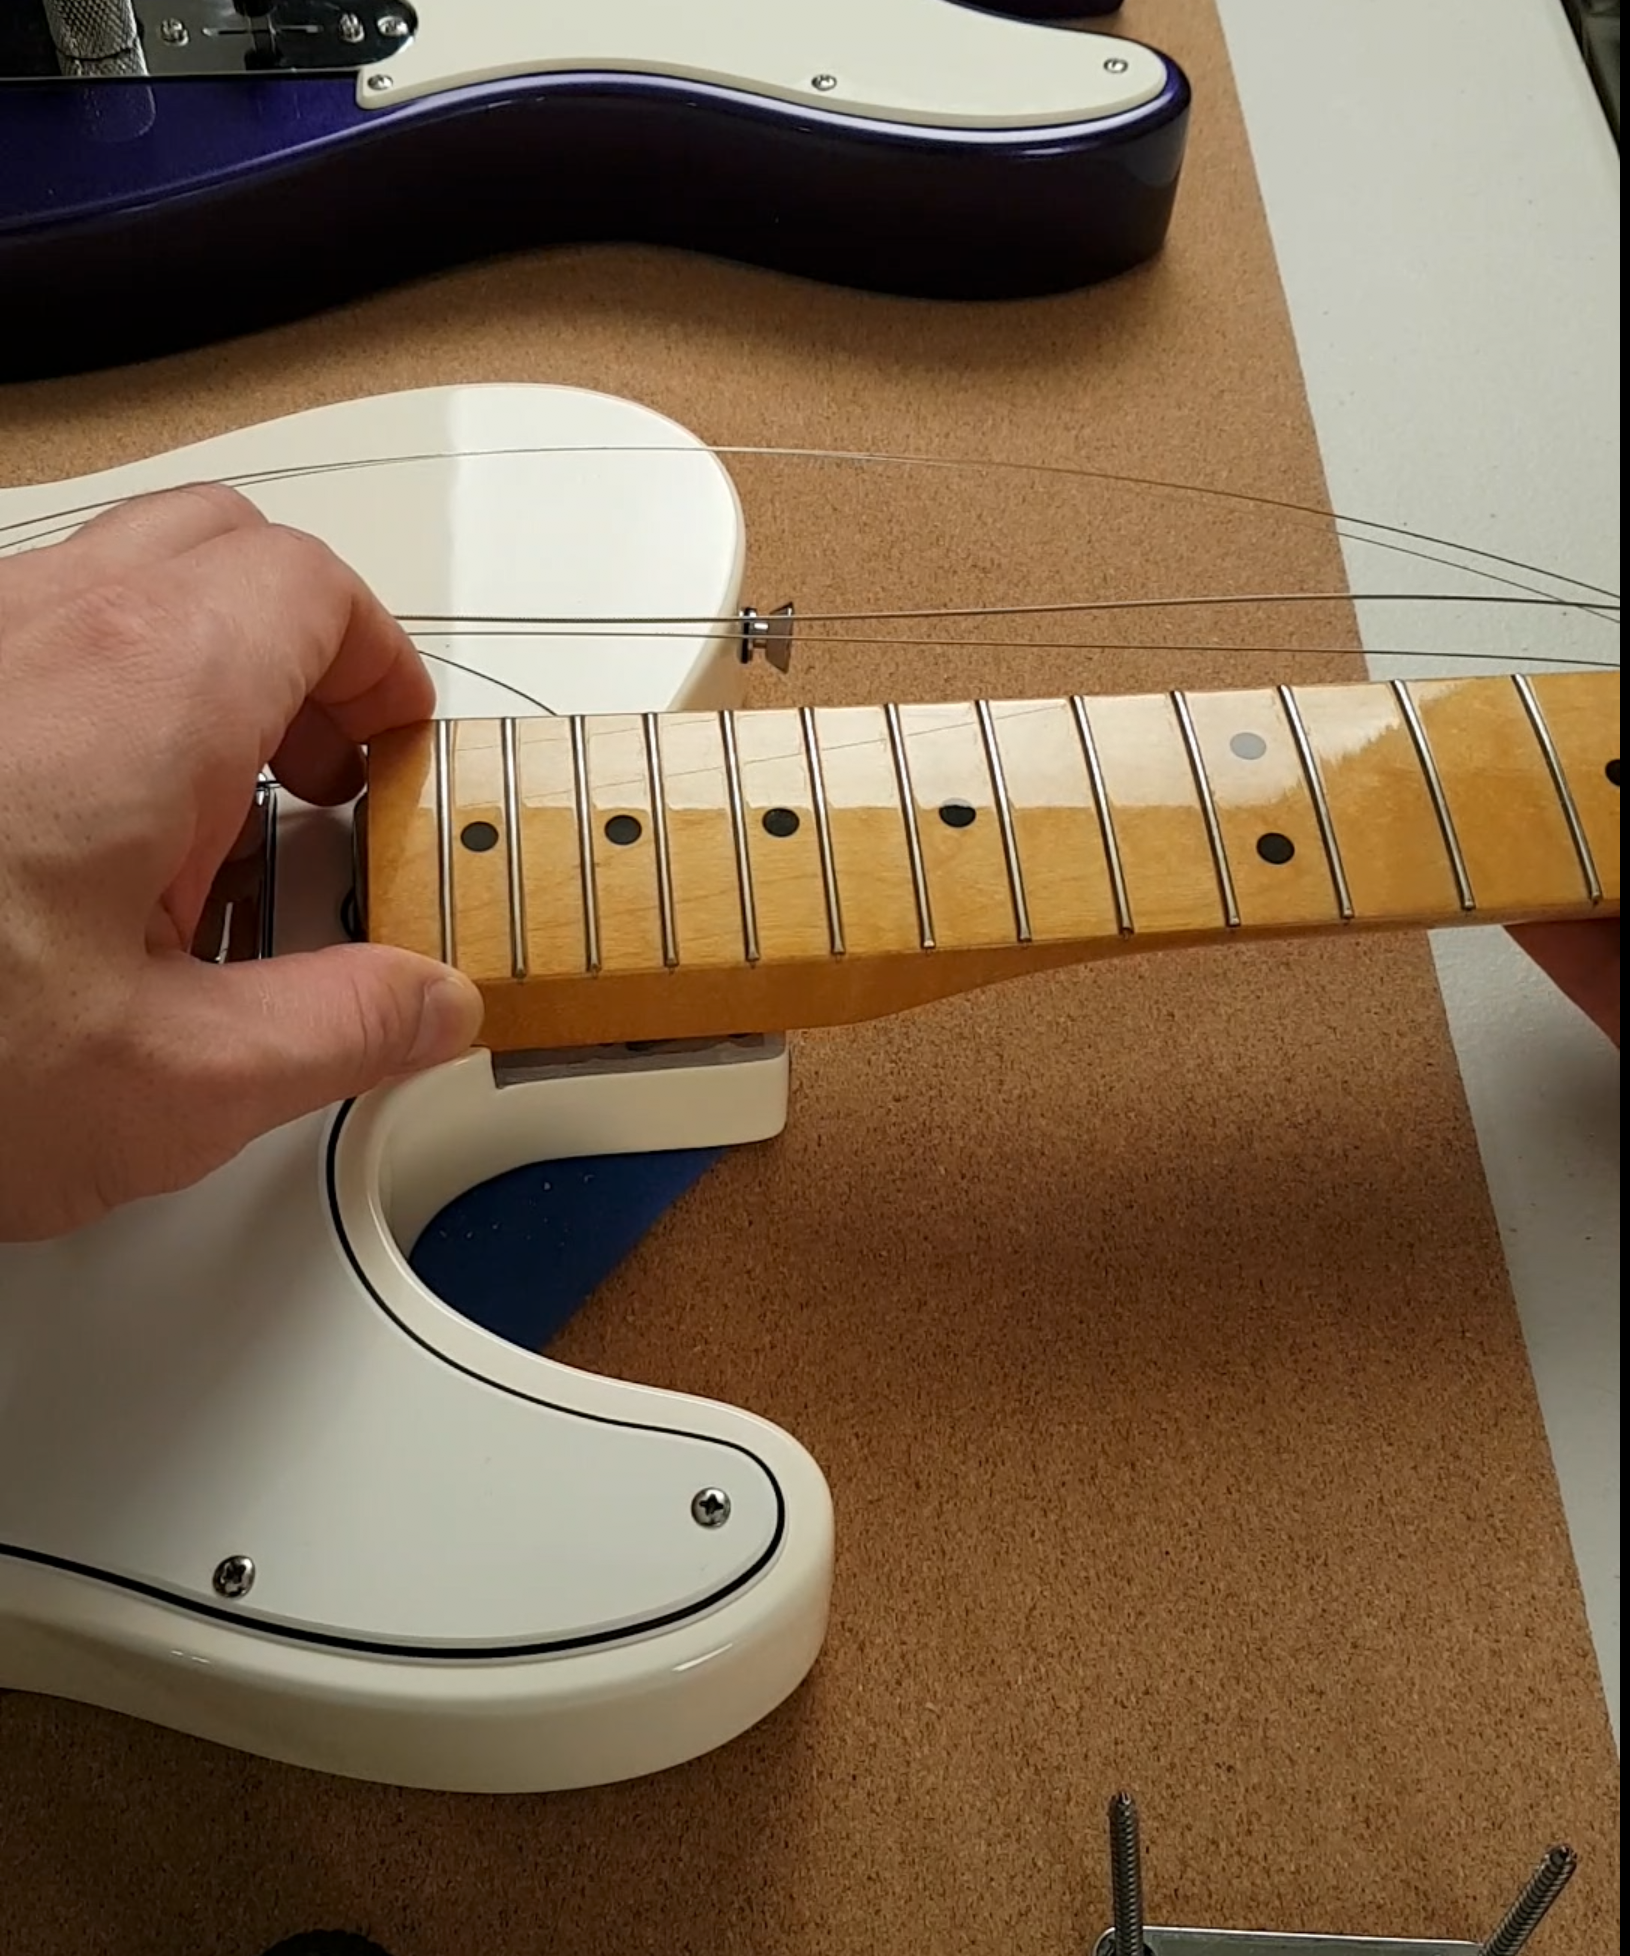
Now let’s find out if the Fender neck is a fit for your Squier guitar body. Careful attempt to insert the Fender neck into the Squier neck pocket. You will know right away if you have a good fit. The neck will ideally just drop into place and it’s ok if there is snug fit. You do not want to force the neck into the pocket. If it is not going to fit, don’t force it in into the pocket. You will likely cause damage and you should stop attempting at this point. Whether the neck was a good fit or not we will now move on to the neck re-attachment step.
Re-attach the Neck
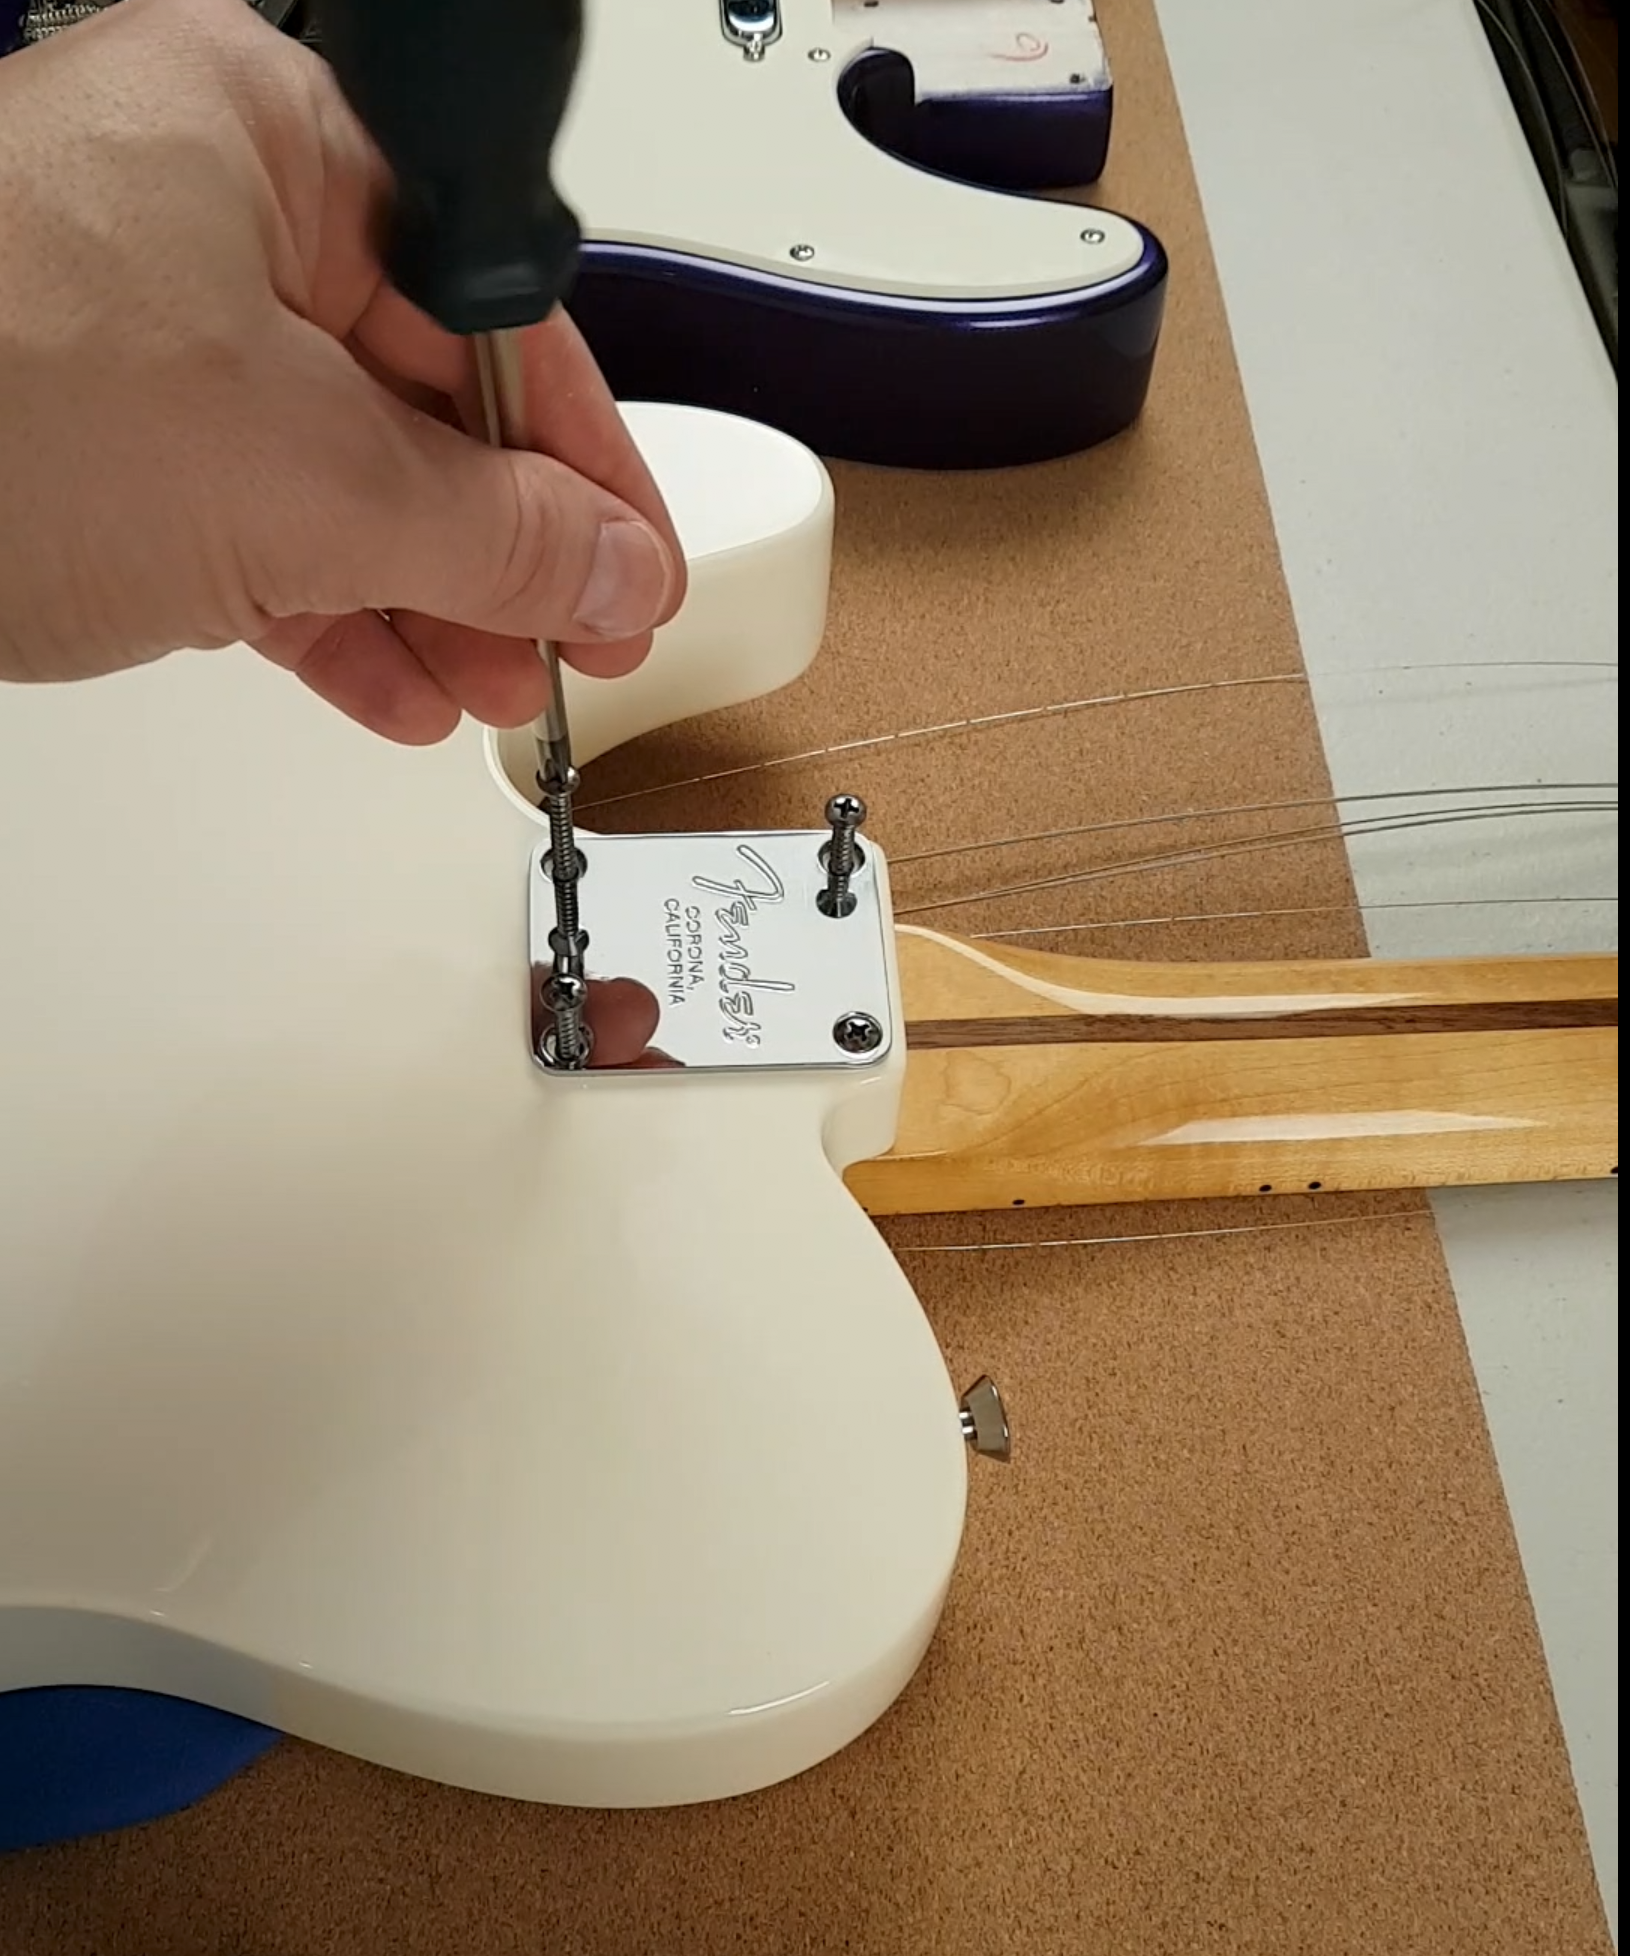
Re-attaching the neck is similar to removing the neck. Again you will want to use caution and hold everything in place with one hand, while using the other hand to re-attach the screws. With the neck inserted into the pocket, begin reinserting each screw into the neck holes. Don’t forget to put the neck plate in place before inserting the screws. Use a cross-cross pattern to install the screws. I don’t recommend using power tools to install or remove screws from a guitar. Although using a power tool will save you time, your hand strength is ideal. Hand tighten each screw into the neck, but don’t overtighten. Once each screw is tight, you can now re-string and tune your guitar. If you are also using vintage style tuners, you’ll see how easily and quickly you can get back up and running.
The Results
It’s a good fit!
Hopefully everything worked out for you and you’ve been able to install your Fender neck into your Squier body (or vice versa!). So keep in mind this is not a one size fits all solution. In general this should work for the majority, if not all of Fender made necks and bodies. There are always exceptions, and I would not expect this to work on all Fender style copies or clones, unless they have also copied the Fender neck and neck pocket specs perfectly.
I’ve documented the whole process in a quick 60 second video on my YouTube channel. Have a look here and see how it worked out for me in the end:


