How well does Google WiFi work in a Two Story Home?
I live in a two storey home, and it's always been a challenge to get wifi working on the top floor. For years I've been using a Netgear Nighthawk R7000 wireless router with a number of wireless extenders. The Netgear Nighthawk is a great wireless router, however the wireless range has never been reliable on the top floor. It simply can’t reach certain areas of my home and remain reliably connected.
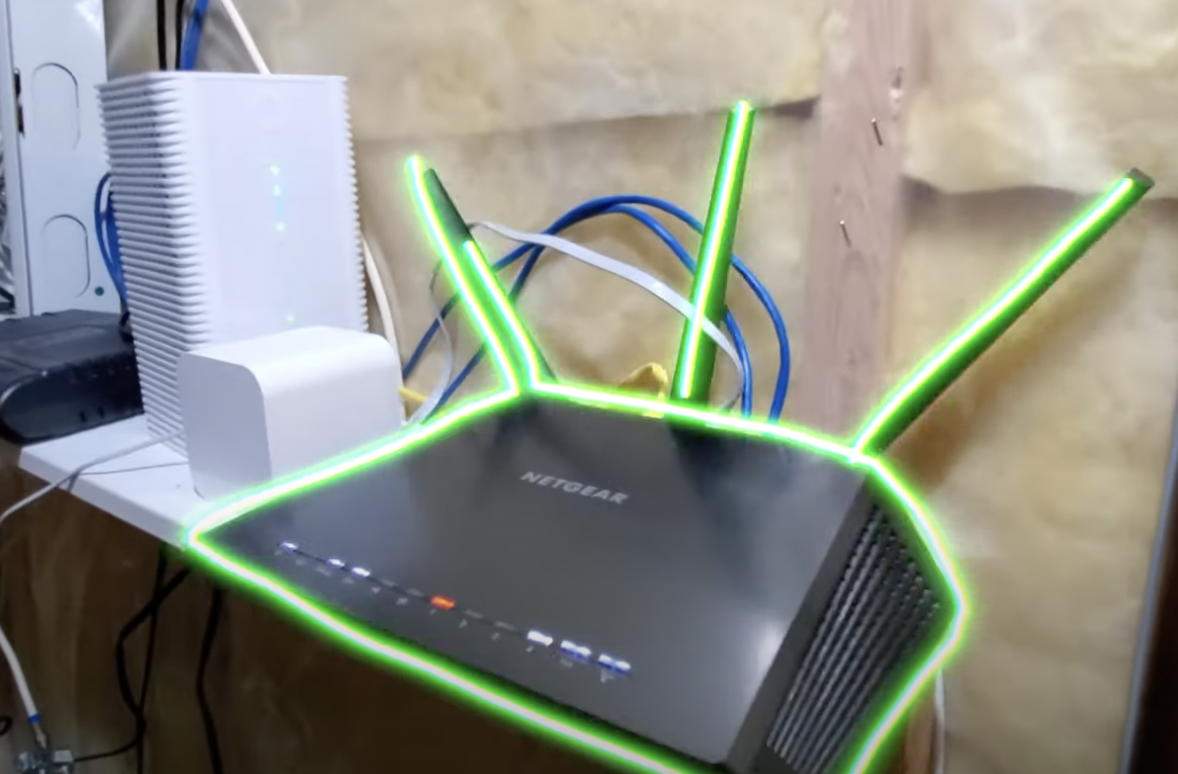
The wireless router I am replacing - Netgear Nighthawk
For a while I’d heard of ‘Mesh’ wireless systems so I decided to purchase Google’s Whole Home Wifi Mesh system. I wanted to hopefully resolve my ongoing wifi issues in my two storey home. Google has also recently released a newer model called the Nest Mesh system, however I’ve only had a chance to work with the original mesh systems. It’s essentially the same system but with ability to reach higher range and speeds.
Deciding which Bundle to purchase
As you may know, technology evolves very quickly and and is ever changing. With that being said, the price and availability of the Google Wifi points may be different from when this blog is being written. Use my information as a starting point and then work with what is available in the current market. I hope to one day try out future wifi mesh systems to see how they all compare to this one.
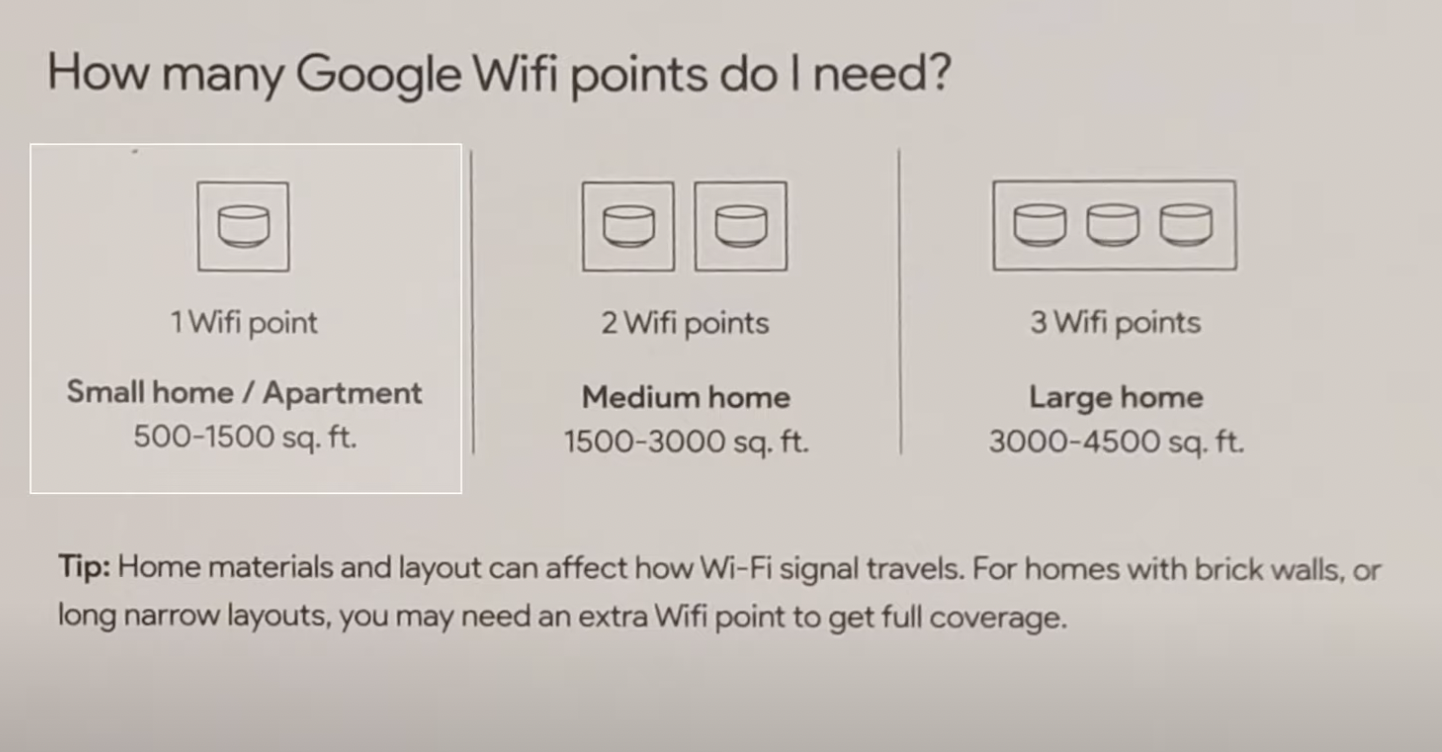
Now the first thing you should figure out is how many Google Wifi access points you need for your personal situation. Google provides a range of square footage to access points recommendations. You can use trial and error, or you can use their little chart to decide what you will require. My home is roughly 1000 square feet per floor. That’s a basement level, main level, and an upstairs level. Based on a rough estimation of 3000 square feet, I decided go with 3 wifi points. I eventually added a 4th access point to reach another area in my backyard, but I won’t be covering that in this article.
You can buy all the Google Wifi devices, and my previous wireless router using these affiliate links:
Setup and Configuration

I already mentioned that technology changes quickly. When I initially setup up my Google Wifi system, it was through an Android application called Google Wifi. That application has since been migrated to the Google Home application. They’ve simply combined the functions of the Wifi app into the Home app. So some screenshots may not match what you will experience today, however it’s nothing to worry about. So if I use the app name Google Wifi and you are looking for Google Home, it’s the same thing and should appear similar. So you will first need to download the installation application from Google. I’ve only installed it on my Android phone (a Samsung Galaxy S10) but I assume it’s also available for Apple’s IOS on iPhone. Don’t quote me on that, go and check for yourself first! Since I have 3 access points, I have to install each one in a different location in my home. So let’s go floor by floor and install each access point.
Main Access Point - Basement

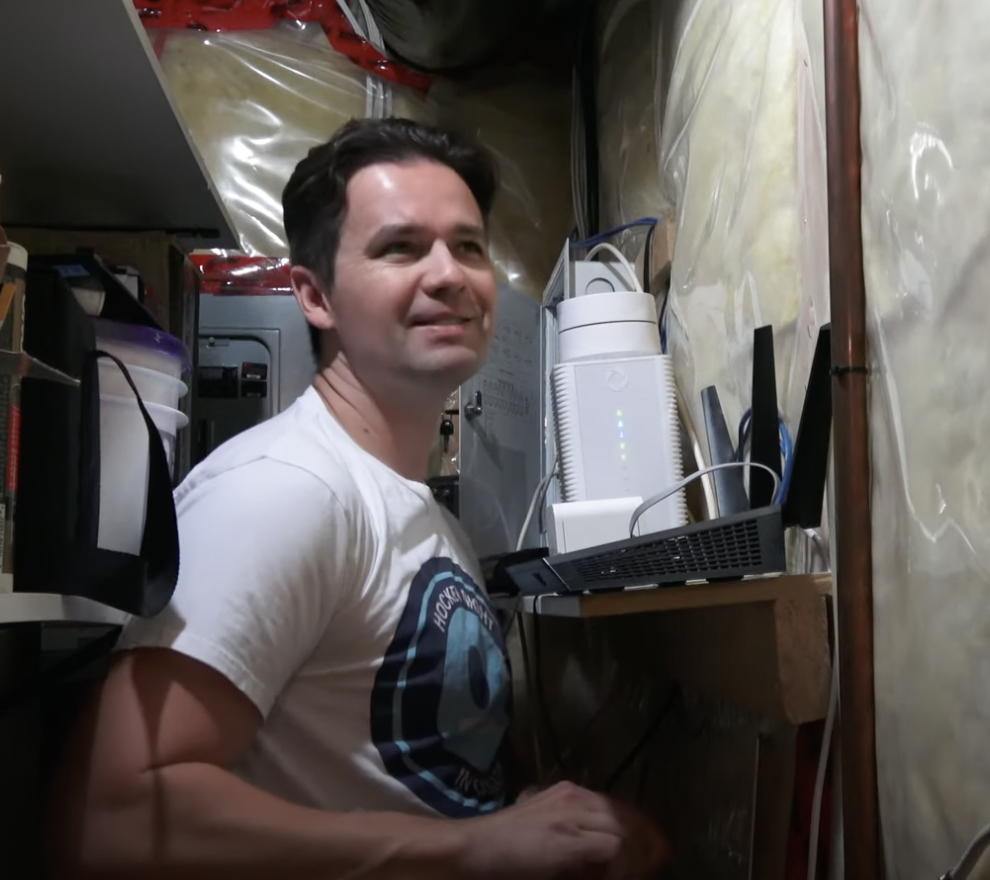
It’s a tight fit for my main access point located in the basement
My first access point will be installed in my basement. This is the location where my internet connection is wired into my home. I’m in Canada and my current ISP is Rogers. I use their provided router, however I have the router’s internal wireless connection disabled and the connection is bridged to the first Google access point. I won’t cover how that connection was established, so you’ll need to look online for more details about bridging your ISP’s connection. It can vary from from device to device, so I can’t cover all scenarios. As you can see from the photo I’m working in a tight space, and probably not the most ideal setup, but this is what I have. After cabling and powering the first access point, you should be able to connect to it while using the Google Home app. When you are running through the configuration, you will have the option of labelling each access points according to their specific location. You can also create custom labels if you don’t like what has been offered by default in the application. The Google Home setup is pretty intuitive and makes installation very simple. You can see the full process in my Youtube video at the end of this blog. Again remember at the time it was called Google Wifi, so it may look slightly different.
2nd Access Point - Main Floor
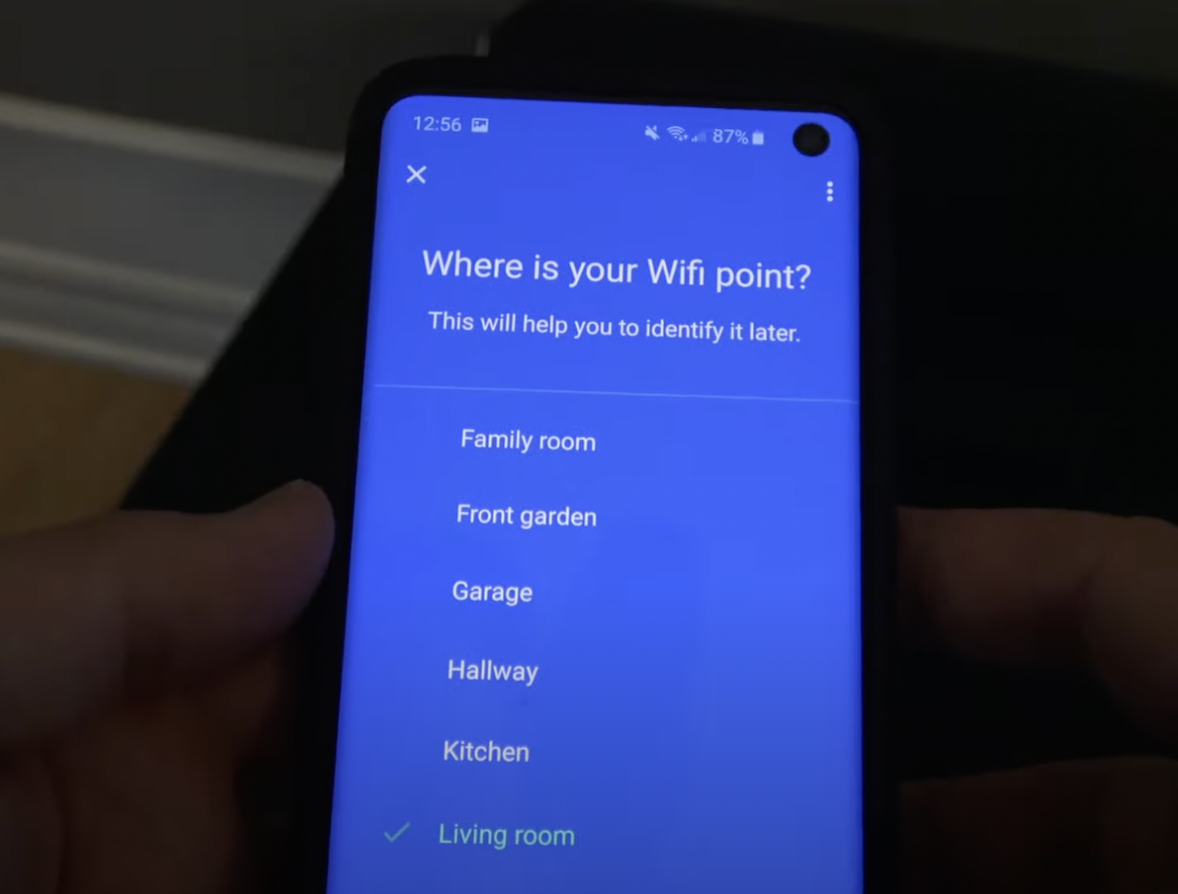
Select a label that helps identify the access point location
After successfully installing the first access point, I’ve now moved up to the main floor to install the 2nd access point. This access point is going to be labelled ‘Living Room’ since it was already a default option and it matches the room location. The installation process is almost the same as the first access point. The main difference for the 2nd access point is that you are only cabling the power connection. There is no requirement to run an ethernet cable. This access point will now connect to the new wifi network that was created during the first point’s installation. Select a location that you feel should be able to have a good connection with the main access point located in the basement. If the connection isn’t good, the Google app will let you know. You can also try various locations, run the built-in connection tester, and then move the location if required. I picked a central location and it ended up having a strong signal and did not require that I move it around to another spot. Ideally you would want to avoid having too many walls or other solid structures in it’s path. This could potentially cause a degradation in the wi-fi signal and overall speed. Once I had a good connection, it was time to move on to the last access point on the top floor of my home.
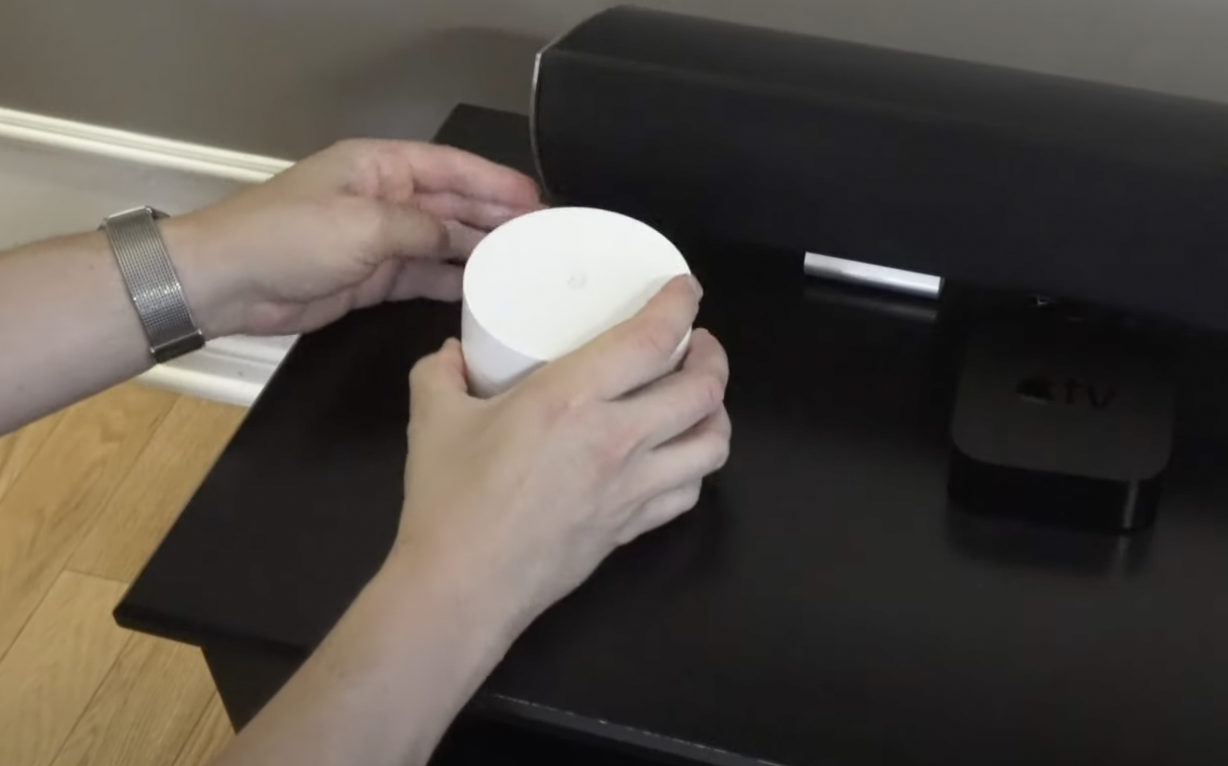
3rd Access Point - Top Floor

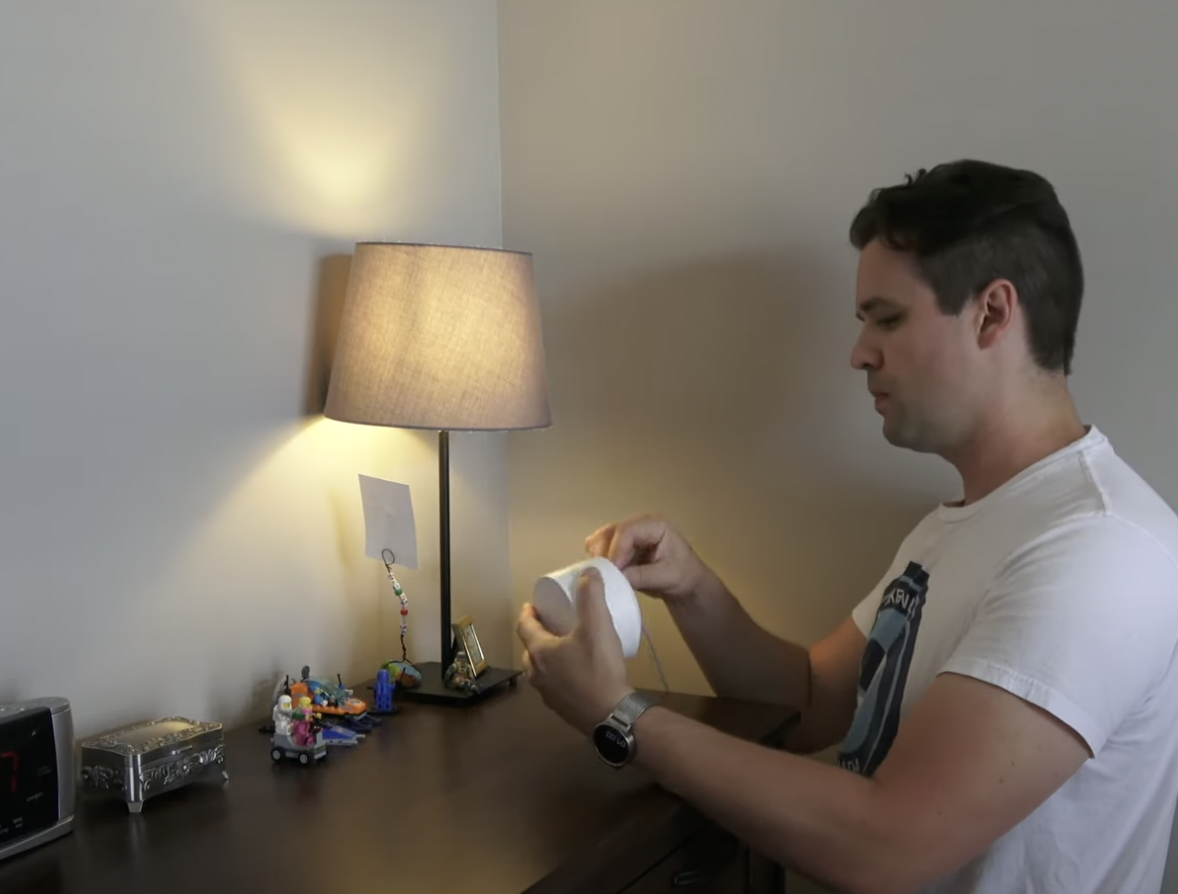
Connecting the access point power
The third access point will be installed on the second floor of my home. This has always been the area of my home that has had the worst wi-fi signal and connection speed. My original configuration which consisted of the Netgear Nighthawk and a couple wi-fi extenders, would constantly have disconnection issues. The signal range of the Nighthawk simply wasn’t powerful enough to reach the top floor. Wi-fi extenders seemed to work at first, but they create a separate SSID, which is essentially a different Wi-fi network. My devices were constantly connecting, disconnecting, and trying to hop between the different SSIDs. This can be extremely frustrating that was not an ideal solution and caused a lot of headaches. A wi-fi mesh solution is great because it retains the same SSID amongst all devices in the network. Overall speed and range can be affected by using a mesh system, but the reliability and signal strength will be more efficient. To me that’s more important overall when running a network in my home. After getting all three access points connected and configured, the Google app can run various internal tests to show you the strength and speed of your new network. It can also recommend whether or not you should move any of the access points to a different location in your home. The idea is to help detect the optimal location and improve their overall speed. Once you have everything connected and tested, it’s time to run some real world speed tests.
testing the connection
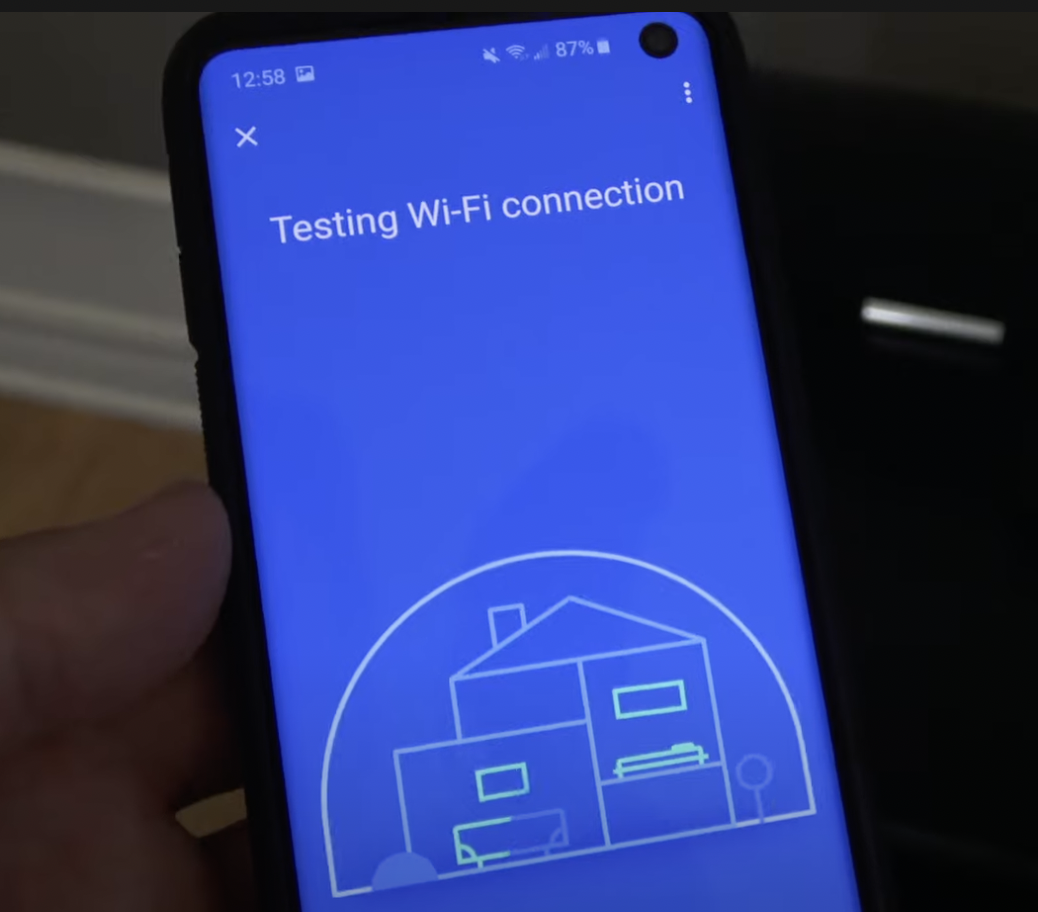
Google’s built-in wi-fi connection testing
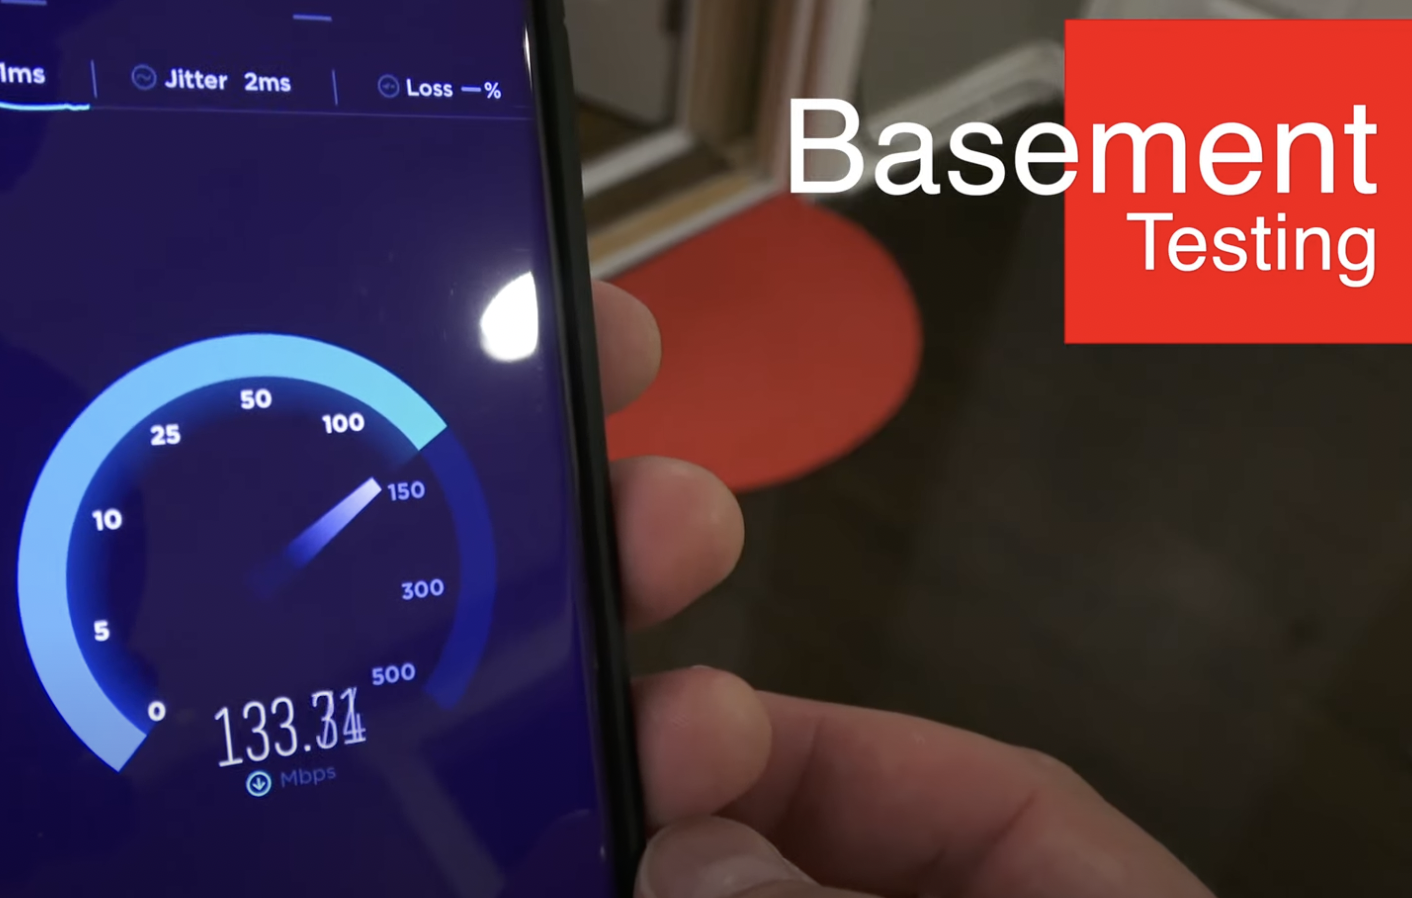
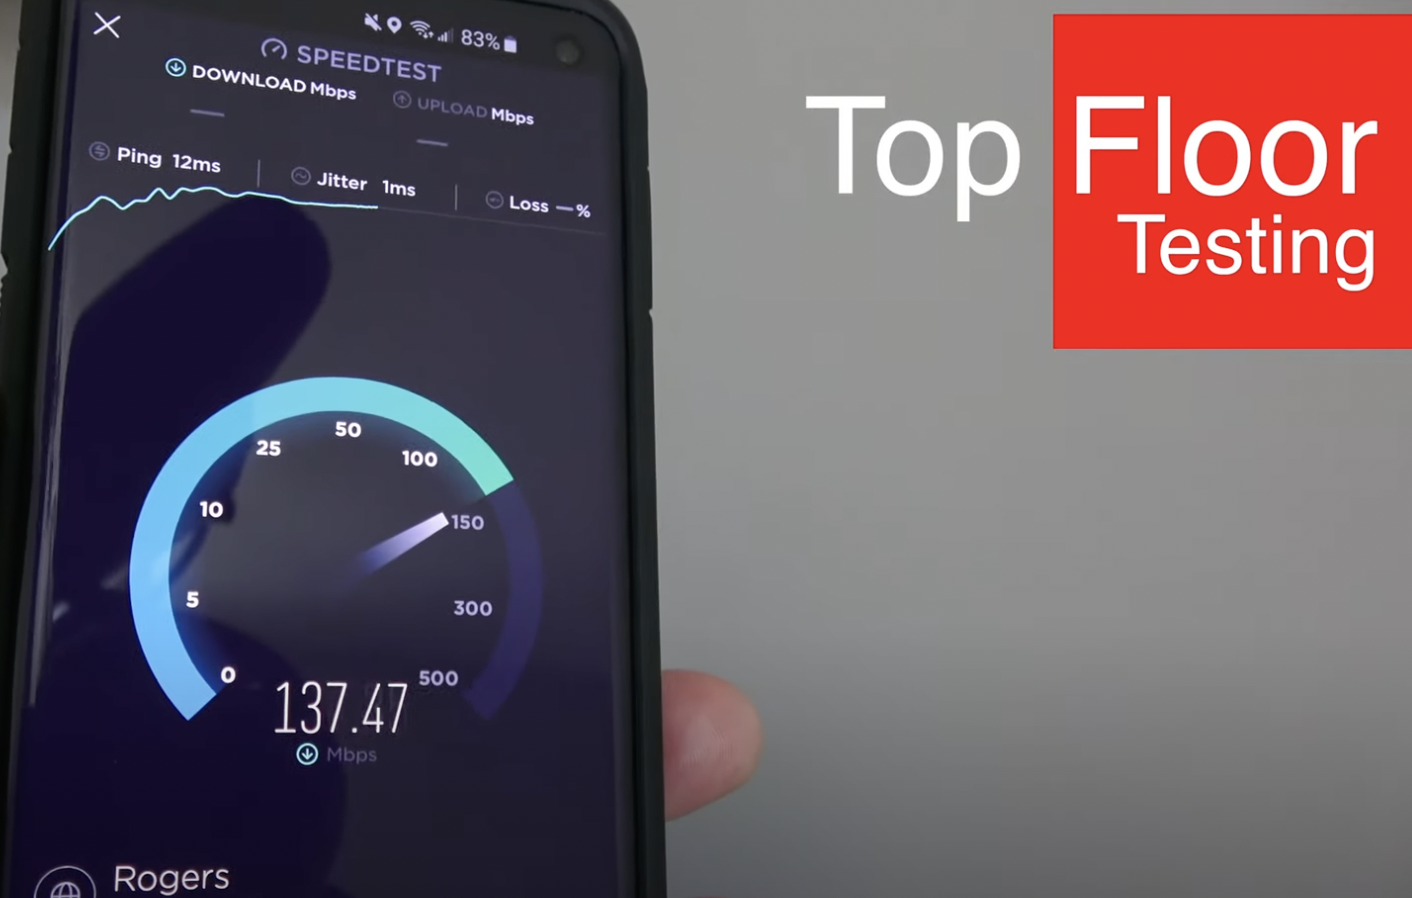
The Google app has it’s own built-in wi-fi connection testing which is great. I also like to run some connection tests with a third-party application called Ookla SPEEDTEST. I’ve been using this application for years on various devices and operating systems, and it’s always been a very reliable tool. I liked it so much I bought the full version which removes the built-in advertising. I ran various tests from each location, the basement, the main floor, and from my top floor. I first captured tests results using my original Netgear Nighthawk configuration, and then compared it to the new Google Wi-fi connections. You can see a few samples in the photos shown, and to see more testing and full results, be sure to check out my full walkthrough video on Youtube.
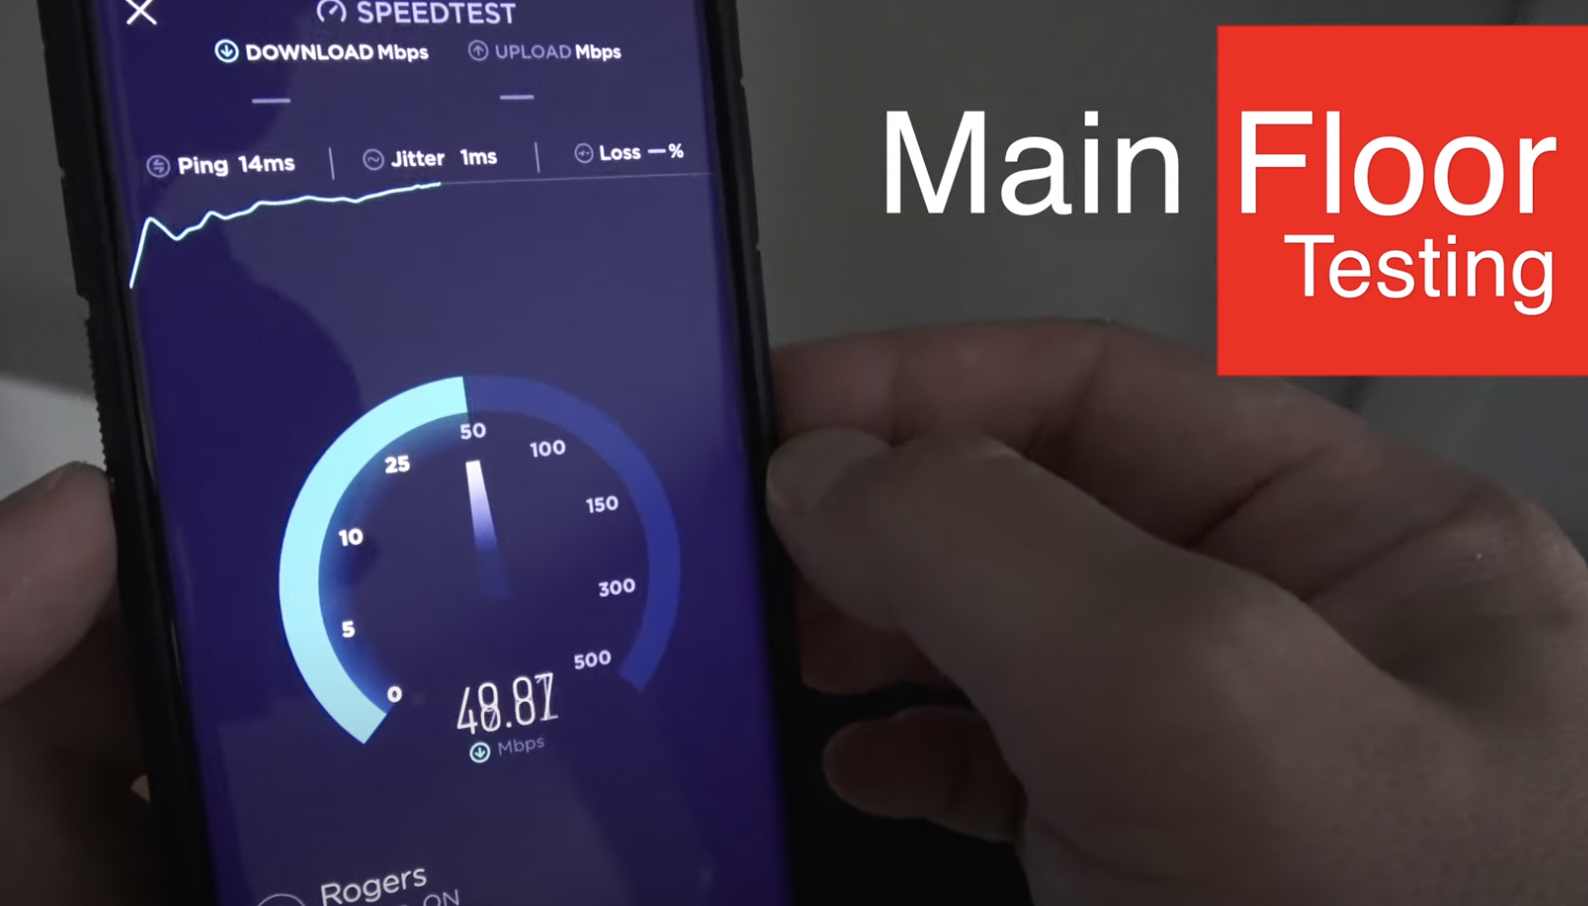
Here are a few samples of testing the internet connection speed with SPEEDTEST. You may notice that the main floor results were significantly lower than the basement and top floor. I think what happened in this case was my connection was still connected to an access point on a different floor. This only happened the one time and further testing showed similar speed results compared to the basement and top floor. As I mentioned before, the top speed results do not reach what I was able to achieve while using the Netgear Nighthawk, however the connection is way more reliable. This is more important to me than having the higher speeds.
To see a more detailed walkthrough of the entire setup and configuration, please have a look my video on Youtube. You’ll see more thorough speed tests as well as the entire hardware unboxing, setup and configuration. I know Google has released a follow system called Google Nest Wifi which is supposed to have even more range and higher top speeds. In the future I may check out that system as well.


